Raynox DCR-250 Review - Is It Any Good?
After trading in my Fuji XF80 for the 70-300, I soon found myself wanting a bit more magnification. While the zoom has pretty good macro capabilities with a 35mm-equivalent 1:2 (0.5x) reproduction rate, there were occasions where it just wasn’t enough for what I wanted to do.
As an alternative I looked at other cheaper manual macro lenses like the Laowa 65mm f/2.8 Ultra Macro. With its 2:1 reproduction rate it actually has more magnification than the big and heavy XF80, but I quickly realised I didn’t want yet another lens to carry around.
Extension rings are another popular option and I was pretty set on getting the Fuji ones. However, just before I went ahead and ordered them, I saw a post about the DCR-250 from Raynox. Intrigued I did a bit more research and decided to order one from Amazon Japan while I was last over there.
It arrived in a fairly scruffy looking box with the following inside: · Raynox DCR-250 - 8 diopter super macro conversion lens · Spring loaded lens attachment filter for threads from 52 to 67mm · Front and rear lens caps · Storage container · Instructions (who reads those anyway)
What is the Raynox DCR-250 and How Does it Work?
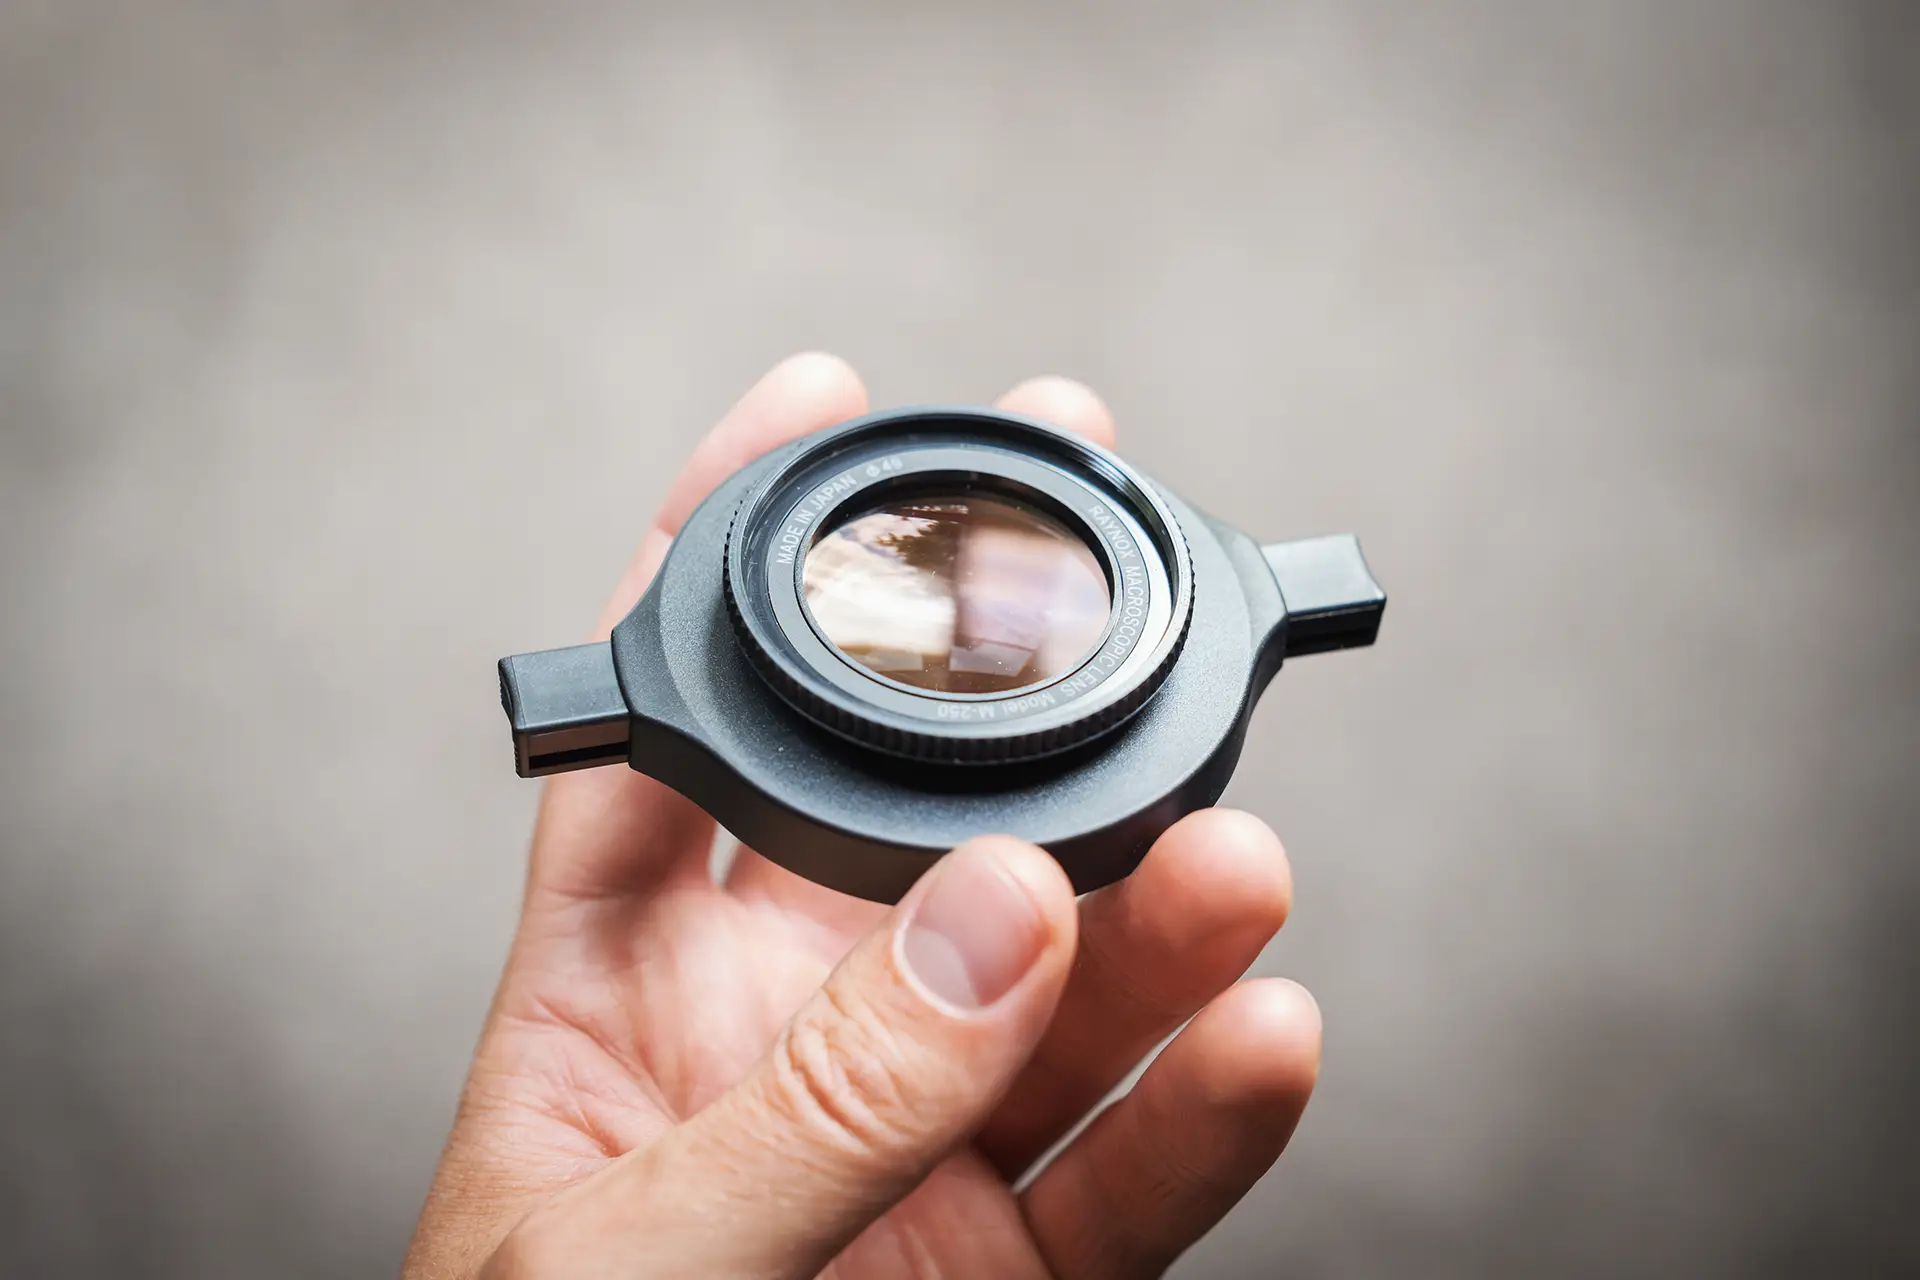
Essentially, the DCR-250 is a small macro lens that attaches to the front of your normal lens, converting it into a macro capturing machine. The three-element optical glass construction not only significantly magnifies subjects, it also helps keep common diopter flaws such as chromatic aberration under control. Of course, it doesn’t do this without introducing some flaws of its own, but we’ll get to its performance after talking about the great little adapter this thing comes with. The DCR-250 has a mounting thread of 43mm, but once you screw it onto the “snap-on universal mount”, you can attach it to lenses from 52mm, all the way to 67mm. This was the main appeal for me, as the ability to get macro capabilities out of pretty much any of my lenses was too tempting to pass up. If you want to attach the DCR-250 to a lens between that 43 to 52mm filter range where the adapter doesn’t cover, we suggest going with a step-up or step-down adapter ring. Trying to force the universal adapter to fit onto something like a 49mm filter thread is going to lead to some cussing and frustrated hair pulling (you have been warned!).
What’s the Build Quality Like?
The macro lens itself feels pretty solid, but it is a light unit at only 60g. It’s also made in Japan, which is nice to see and comes in at around 18 x 53mm in size, so it’s extremely portable (at least compared to bringing a dedicated macro lens with you).
The mounting adapter doesn’t feel quite as robust though, with a plastic construction instead of a metal one like on the macro lens component. I imagine this is somewhat by design as if the adapter were made of metal it would not only be heavier and more expensive, but the mounting tabs could accidentally scratch the front element of some lenses. I didn’t have an issue with this myself, but I could see how this could happen when mounting.
So What’s It Like To Use?
There is certainly a bit of a learning curve with a tool like this, especially for those who aren’t already comfortable with manual focus lenses. Luckily, despite how good auto focus has become, I am a bit of a manual focus fan and I didn’t have too much trouble setting the right focus distance on my Fuji 33mm f/1.4 and getting some quick snaps.
However, once I swapped over to the 70-300, I soon realised that a bit more care was going to be needed, especially at the longer end of the focal range. The magnification is frankly mind boggling at 300mm and without using a tripod and exercising a good amount of patience you probably aren’t going to be getting many keepers. I found myself gravitating to focal lengths under 100mm to keep the Raynox a bit more manageable.
For those wanting to use autofocus you technically can, but you are going to have a much, much easier time doing it manually. Setting the focus ring to the closest focus distance and then rocking backwards and forwards to get the subject in focus is what I would recommend you do. Turning on “focus peaking/assist” is a good idea as well, but don’t trust it completely as I found I got a few more false positives with the DCR-250, especially in low light/contrast situations.
Another thing you are going to want to do is to bump up your apertures to around f/11 (approximately f/7 to f/8 on full frame). The depth of field is just way too narrow otherwise. However, be mindful that you are going to need a good amount of light due to the higher apertures and higher shutter speeds that are needed to get a subject in focus with minimal motion blur.
If you are struggling with low exposure, I would probably bump up the ISO rather than reducing the shutter speed when using the DCR-250. This is because you do really need a higher shutter speed if hand holding the camera or if your subject has slight movement. Obviously, if your subject is perfectly static and you have your camera setup on a tripod you can get away with lower shutter speeds (depending on how low you might want to use a timer or remote).
Another tip is to take photos parallel to your subject if you are struggling with too much of the image being out of focus. This helps maximise the available depth of field across your subject. Is the Raynox DCR-250 Sharp?
This is probably one of the biggest concerns I had when originally looking at the DCR-250 and it seems to be a common concern shared between many prospective buyers. Anytime you add something to the front of your lens it introduces the possibility of reduced image quality and sharpness, which is obviously something we don’t want (well, unless you are going for a particular style).
In short, I was actually really surprised by the image quality in a good way. While it’s certainly not as good as the XF80 macro lens I had before, it’s more than useable when you get a shot in focus. The corners can be a bit soft and there is a bit of vignetting, but that’s not really a problem for me as when I do this sort of photography the corners are usually out of focus and I often add a bit of a vignette anyway. The centre is my main concern and I’m happy to report it’s really good with just a slight reduction in sharpness compared to the naked lens.
I found the Raynox to perform best on the XF90, which isn’t much of a surprise as that’s the sharpest lens I own. It also worked surprisingly well on the XF33 and it was great on the 70-300 (although a bit softer at the longer end of the focal length and once again getting focus at 300 is an exercise in patience). The three lenses where I noticed the biggest impact on image quality were the old 18-55 kit lens, Viltrox’s 13mm wide angle lens, and TTArtisan’s 25mm f/2. The kit lens is softest lens I own by far and this is noticeably amplified with the DCR-250 attached to the front. On the Viltrox I get some pretty heavy vignetting, but this was somewhat expected based on prior reading (see below from Viltrox).
“Macro Conversion lens may cause vignetting image (darkening one or more corner of the taken image) when used with wideangle lens.”
Vignetting on the TTArtisan’s 25mm f/2 was the heaviest out of all lenses, but it can make for some interesting images if you are into that sort of thing. One of the best things about using the Raynox on this lens is that you don’t even need the adapter, so the entire setup is minuscule in size. However, the corners are especially atrocious as that is one of the weak points of the TTArtisan and that is made significantly worse with the DCR-250. Focus Stacking Helps a Lot
If you want to get the most out of the DCR-250 (or really any macro setup), focus stacking is going to be your best friend. With the extremely shallow depth of field you get at these magnifications, getting everything you want in focus in a single shot can be nearly impossible. Even stopping down to f/16 might not be enough, and at that point you’re fighting diffraction and need even more light. The basic idea behind focus stacking is simple - you take multiple photos of your subject, each focused at a slightly different point, and then combine them in post-processing to get one completely sharp image. While it sounds straightforward, there are a few things to keep in mind when attempting this with the Raynox.
First off, you’re definitely going to want a tripod for this. While you might get lucky hand-holding for a single macro shot, trying to maintain the exact same framing while adjusting focus for multiple shots is an exercise in frustration. I usually use my XH2’s inbuilt focus bracketing feature for this sort of thing, but you can also manually adjust the focus ring in small steps as well. However, the latter is going to be much more difficult and inconsistent, especially given the extremely thin depth of field you can achieve with the DCR-250.
For static subjects I normally take around 5 to 15 shots for when I want to do focus stacking, but I found I needed to probably double that due to how close I could get. The main key with focus stacking is to make sure each shot has some overlap in focus with the previous one - this helps the stacking software blend everything together smoothly. For subjects with any movement (like insects), you’ll want to work faster and possibly with fewer shots, or just accept that some areas might not be perfectly sharp.
One thing to watch out for with the DCR-250 is that any optical imperfections tend to become more noticeable in stacked images. That slight softness in the corners I mentioned earlier? It becomes more apparent when you’re stacking multiple shots. I usually combat this by either cropping a bit tighter or embracing it as part of the aesthetic, letting the corners fade into a pleasant blur while keeping the subject tack-sharp.
The results can be pretty stunning though. While the single shots you get with the Raynox are impressive enough, focus stacking really lets you show off the incredible detail you can capture with this little macro lens attachment.
So, Is the Raynox DCR-250 Worth the Money?
I think it is, and I’ll go as far to say it is even worth it for those who already own a macro lens. I say this because the biggest benefit of the DCR-250 is that it can easily be swapped onto different lenses. Out on a hike and want to capture some insects or close up details of flowers? With the Raynox you can simply clip it onto the lens you are already using and start shooting, whereas a dedicated macro lens will require changing lenses (and don’t forget the added weight of carrying another lens).
If you are looking at the DCR-250 for professional work that is where things get a bit more tricky. Yes, it’s still pretty sharp, but it’s not going to be as sharp as a good macro lens. If you are just posting on social media it’s probably not going to be an issue, but I would have a few more concerns if you have to do some prints (I don’t often print my photos, so I can’t give you a rundown of what they come out like with the Raynox). I also didn’t get a chance to test this lens attachment against extension rings, but I assume it would be slightly worse as they don’t really have an optical impact (apart from reduced light, etc.) For a hobbyist or somebody looking to get into macro photography I think the DCR-250 is an excellent option. It’s fairly inexpensive and the fact that you can use it with so many lenses means it is less likely to just stay in your bag or on a shelf at home.
The only people I wouldn’t really recommended this at all to are those who only have lenses outside the adapter filter range or those that like to use wider angle lenses for most/all of their photography.